Bosch Super Graphic

Kari Kimball

How To Use The Flour Sifter Attachment

Do you remember baking with your mom or grandmother? Did they give you special jobs or duties? There were certain tasks that my mother would ask my brother or me to do, some of them were fun and worth fighting over, and others, we knew, were tedious tasks that just took time and got us out of her hair for 5 or 10 minutes. One thing we could always count on was sifting the flour, and it was one of the more exciting tasks.  

My mom had a hand sifter with a crank on the outside.  The crank-powered a metal spinner on the inside of the sifter.  The metal spinner would push the flour through the fine mesh down into the bowl. Mom would “challenge” us to do a good job. Moms are tricky like that. It doesn’t seem like that big of a deal, but when I was a kid there were always clumps in the flour. No matter how hard I turned the crank some of them stayed on the mesh screen bouncing around like kids in a ball pit.  My brother, who was a year older, always did a better job of breaking up the clumps. Looking back on it I’ll bet he cheated and used his finger.  

It’s 2020 now, and kids have more things to worry about than sifting flour. Luckily, the Bosch Mixer has its own flour sifter that doesn’t complain, or get tired hands, or even worry about what its big brother is doing!

Flour Sifter

Assembly:

1. Put the dust cap over the gear at the top of the column in the Bosch plastic bowl. The silicone material will stretch over the cross-pin. (one side at a time) and slip down to keep flour our of the gear and slots. 

2. The outer ring has been nicely designed with multiple slots around the edge that fit perfectly onto the slots of the bowl. It attaches the same way as the Bosch splash ring.

3. The flour hopper fits in place on the outer ring. Rotate counter-clockwise and it will drop right into place.  

4. The Fine mesh screen assembly includes the drive shaft, the screen and the brush.  Lower the assembly into the flour hopper and the drive shaft will line up perfectly with the mixer below.  The drive shaft fits over the gears and cross pins of the mixer and will drop right into place. When the machine is powered on the mixer gears will turn the brush of the flour sifter and “sweep” the flour through the fine mesh. 

The fine mesh screen is magnetic, and you can use your hand or turn the machine on for a couple of seconds until the magnets engage in the correct position. 

5. Lastly we have the top cover or lid. I suggest you put the lid on, so the flour clouds are contained inside and not let loose to wreak havoc on your kitchen.   

Note: When you are done sifting, remove the entire sifter including the dust cap before beginning any mixing.

How to video

Be careful with the fine mesh screen. Unpack and gently wash your flour sifter. Completely dry all parts before using.

That is the last time that you will wash the mesh screen.

This product is not dishwasher safe.  High temperatures will soften and deform the parts.  

NEVER wash the mesh screen after the original cleaning.  Use a soft toothbrush or other soft bristle brush to gently clean and remove the flour.

You can use the sifter to make homemade cake flour as Ashlee Marie demonstrates in the video above, or just to sift your dry ingredients together. Some people even use it to sift their powdered sugar, a friend shared that she uses her flour sifter to make homemade hot chocolate. Maybe she’ll share the recipe.

 The nice thing is that you can sift right into the mixer bowl. How convenient is that? Let us know what neat tricks you use the flour sifter for!

Peanut Butter Oatmeal bars

Peanut Butter Oatmeal Bars

Rebecca is here to answer the age old question of “What’s for Dinner?”.  She features easy to make recipes for busy families, including main dishes, sides and wonderful deserts like this one. 

For the original recipe along with detailed instructions click the link below. 

Ingredients

  • 1 cup Butter softened
  • 1 cup Brown Sugar
  • 2/3 cup Peanut Butter
  • 1 cup Sugar
  • 2 Eggs
  • 1/2 tsp Salt
  • 1 tsp Baking Soda
  • 2 cups Flour
  • 2 cups Old Fashioned Oats
  • 1 pkg Milk Chocolate Chips

Instructions

  • In a bowl, Mix together flour, salt, baking soda, and oats and set aside
  • In a large mixing bowl beat butter and white sugar until fluffy
  • Add eggs and brown sugar and beat another 3 minutes
  • Add peanut butter and mix until combined
  • Mix half the flour mixture into the other ingredients and mix until combined
  • Slowly add remaining dry ingredients, the mixture will be thick.
  • Spray 9×13 glass pan with cooking spray and spread mixture evenly in pan
  • Bake at 350 degrees for 22-25 minutes or until toothpick in center comes out clean
  • Remove from oven and pour milk chocolate chips on top.
  • Allow chips to melt from heat of bar cookies
  • Spread melted chocolate with a knife evenly over bars
  • Allow to fully cool before cutting
Mixing Peanut butter Oatmeal
Peanut Butter Oatmeal bars

Honeycomb Ice Cream

Have you ever heard someone talk about something that you knew you would love? Even when you had no idea what it even was? I have!

I was recently visiting with my sister and aunt. Aunt Vicki had the amazing opportunity of living in the UK for several years while her husband was on a job assignment. My sister Kathy was lucky enough to “holiday” with my aunt in the UK.  They had a marvelous time, touring and eating, and then eating some more.  

Since then there’s been a log of talk about foods they loved from their travels. Some kind of pudding and whether licking the bowl was acceptable, and honeycomb ice cream, “The best ice cream I’ve ever had”.  

Me: “Honeycomb ice cream? What is that? What’s in it? Honeycomb”?   (The food blogger in me is wanting to know more).

Kathy: “I don’t think so, that would just be wax”. 

Me: “Maybe it’s just honey”?

Kathy: “I don’t know, it had little crystals in it that melted in your mouth”.

Needless to say I was intrigued, and after asking everyone I knew (or at least 3 people), I realized that nobody knew what honeycomb ice cream was. After a little research I found a few recipes, mostly from the BBC, and a couple from Australia. I’ve since deduced that honeycomb ice cream is kind of a British thing. Note: We do have a wonderful Englishman here at Bosch Mixers. His name is Bob. I should have asked Bob about this amazing ice cream. I didn’t. Next time I’ll ask Bob. 

Honeycomb ice cream is basically a vanilla based ice cream with honeycomb, the homemade candy kind of honeycomb, crushed and added at the end. I have to admit I was pretty excited to try it.

Homemade honeycomb is a bit of a science experiment. Simple ingredients, easy to make, with a surprise chemical reaction at the end.  

Heat the ingredients to 300˚, remove from the burner,  and add the baking soda. The soda causes a chemical reaction and the syrup foams and expands. Once you pour the honeycomb into the pan it cools into a delicious light, brittle candy that literally melts in your mouth.  The candy is full of tiny holes, hence the name honeycomb.  The recipe below actually has a little honey included, although you don’t really need it. 

Any vanilla ice cream recipe would work for honeycomb ice cream. I’ve used the custard one below and our no-cook vanilla recipe also. 

The ice cream maker attachment is so easy to use. No need to freeze the bowl, just plop it in the mixer bowl and let it go. 20-30 minutes to fresh homemade ice cream.

So, how was it?  I finished this ice cream late at night, and refused to let my hubby have any. I had to get some photos and videos of the finished product. He was not happy with me, at all!  The next day when I was taking the blog photos I caught him eating the ice cream right out of the container with no intentions of stopping.

It’s so good! A slight honey-caramel flavor, and sugar crystals that melt in your mouth. It reminds me of pralines and cream ice cream without the nuts, if that makes any sense. You have got to try this one, and let me know what you think about it.  

Note: The honeycomb will melt into the ice cream so I like to leave it in larger bits, and I really loved sprinkling a bit of the crushed honeycomb over top of the ice cream when it was served.  

Whole Wheat Walnut Bread

Whole Wheat Oat Walnut Bread

By: Amy Sandidge of www.aredspatula.com
Amy loves milling her own flour and adding whole grains to her recipes.  She often uses partial whole wheat flour, creating the perfect combination of flavor and texture.  Amy attended culinary school and worked as a cook and night-baker on an off-shore oil rig. Now she creates beautiful recipes for all of us to enjoy.

Ingredients

  • 1 1/4 cup milk
  • 4 tablespoon butter
  • 1/4 cup honey
  • 1 tablespoon active dry yeast
  • 1 cup regular oats
  • 1 teaspoon salt
  • 3 eggs
  • 3 cups whole wheat flourI use a white whole wheat
  • 1 1/2-3 cups all purpose flour
  • 1 cup chopped walnuts

Instructions

  • Add milk and butter to microwaveable dish. Heat for about a minute. Remove and stir in the oats, honey and salt. Set aside and allow to cool to about 100 degrees. This will feel just barely warm.
  • Add this mix to mixer and add eggs, full amount of whole wheat flour and only 1 1/2 cups all purpose flour. Start mixer. Add flour as needed. You want the dough to just barely pull away from the sides of the bowl. Allow to mix on medium speed for about 4-5 minutes. Add in walnuts and continue to mix until walnuts are incorporated.
  • Cover and let rise. Depending on temps in your house, it can take anywhere from 30 minutes to an hour. 
  • Form rolls or load and cover again. I make these lovely twisted rolls, check video for instructions. Doubling time should be a little quicker on the second rise.
  • Towards the end of the rise, preheat oven to 375 degrees. Brush with an egg wash. I make mine with 1 egg mixed well with plenty of milk to thin it out. Brush it on lightly. 
  • We love these hot and fresh from the oven!

For a more detailed description of this beautiful whole wheat oat walnut bread click the link below.

Whole Wheat Oat Walnut Bread

Strawberry cake on a dish next to a strawberry and fork

Sugar Geek Show

"In order to get to where I wanted to be, I had to close the door on where I was" - Liz Marek

Bosch Mixers had the pleasure of attending & sponsoring the Everything Food Conference last June.  I was lucky enough to spend time at the conference getting to know a lot of amazing bloggers.  It was there that I first had the pleasure of meeting Liz Marek of Sugar Geek Show.  Being very new to the social world I really had no idea who she was or what she did. I did however learn that she is a lovely human being, so kind, and just a pleasure to talk to. Liz expressed some interest in the Bosch Mixer and was hopeful that she would win our mixer giveaway.  I found myself also hoping that she would win, but unfortunately, the stars were not aligned.  She won an immersion blender but not the  Bosch.  Luckily, I know a guy… and we managed to get a Bosch into the hands of Liz Marek – Sugar Geek Supreme! 

We were very excited to see what Liz would do with her new mixer and wouldn’t you know it she immediately filled it to the brim with cake batter to see what it would do. The good news is that the Bosch handled the load with ease, and the lid kept it all inside the bowl. The better news is that Liz loved it!  And we love that she loved it, but enough about the Bosch, let’s talk about Liz.

Review of Bosch Mixer

Liz is naturally a very creative person, an artist. Way, way back in the “stone age” of 2007, before blogging had really taken off, Liz discovered that she could use her creative talents decorating cakes and fell in love with this new hobby.  She taught herself how to bake and decorate through trial and error, and realized that even the cookbooks didn’t have the amount of detail that she was looking for. So she started filming detailed tutorials and posting them on Youtube. They were a hit!

She continued doing videos for a few years and then attended The Oregon Institute for Baking and Pastry.  Doesn’t that sound amazing?  At this point in her career Liz was making cakes professionally, competing in (and winning) competitions, filming tutorials, blogging, and writing a book. Apparently, she doesn’t need much sleep. Oh, and she was pregnant with her first child. Something had to give so she decided to close her award-winning cake business. “I knew in order to get to where I wanted to be, I had to close the door on where I was”. Get’s me every time, that quote should be on a t-shirt. 

click on image to go to recipe:

In 2015 Liz, along with her husband Dan, founded the current Sugar Geek Show, an online cake decorating show. Even I can dream about making a beautiful cake when I watch her videos!  Liz has two beautiful children now, the sweetest little girl, Avalon, and beautiful baby boy, Ezra. She films, teaches, bakes, and shares all of her wisdom with the masses. She’s the real deal, through and through and through!  Self taught, then professionally taught. Her cakes (and everything else) look amazing and taste phenomenal. Please take a minute or an afternoon to check out her website www.sugargeekshow.com, just make sure that you aren’t hungry!

Contributors Page

www.boschmixers.com is proud to announce a new “contributors” page on our blog, and we are thrilled that two of Liz’s recipes are the first to be featured.  

Pumpkin Streusel Bread

Pumpkin Streusel Bread

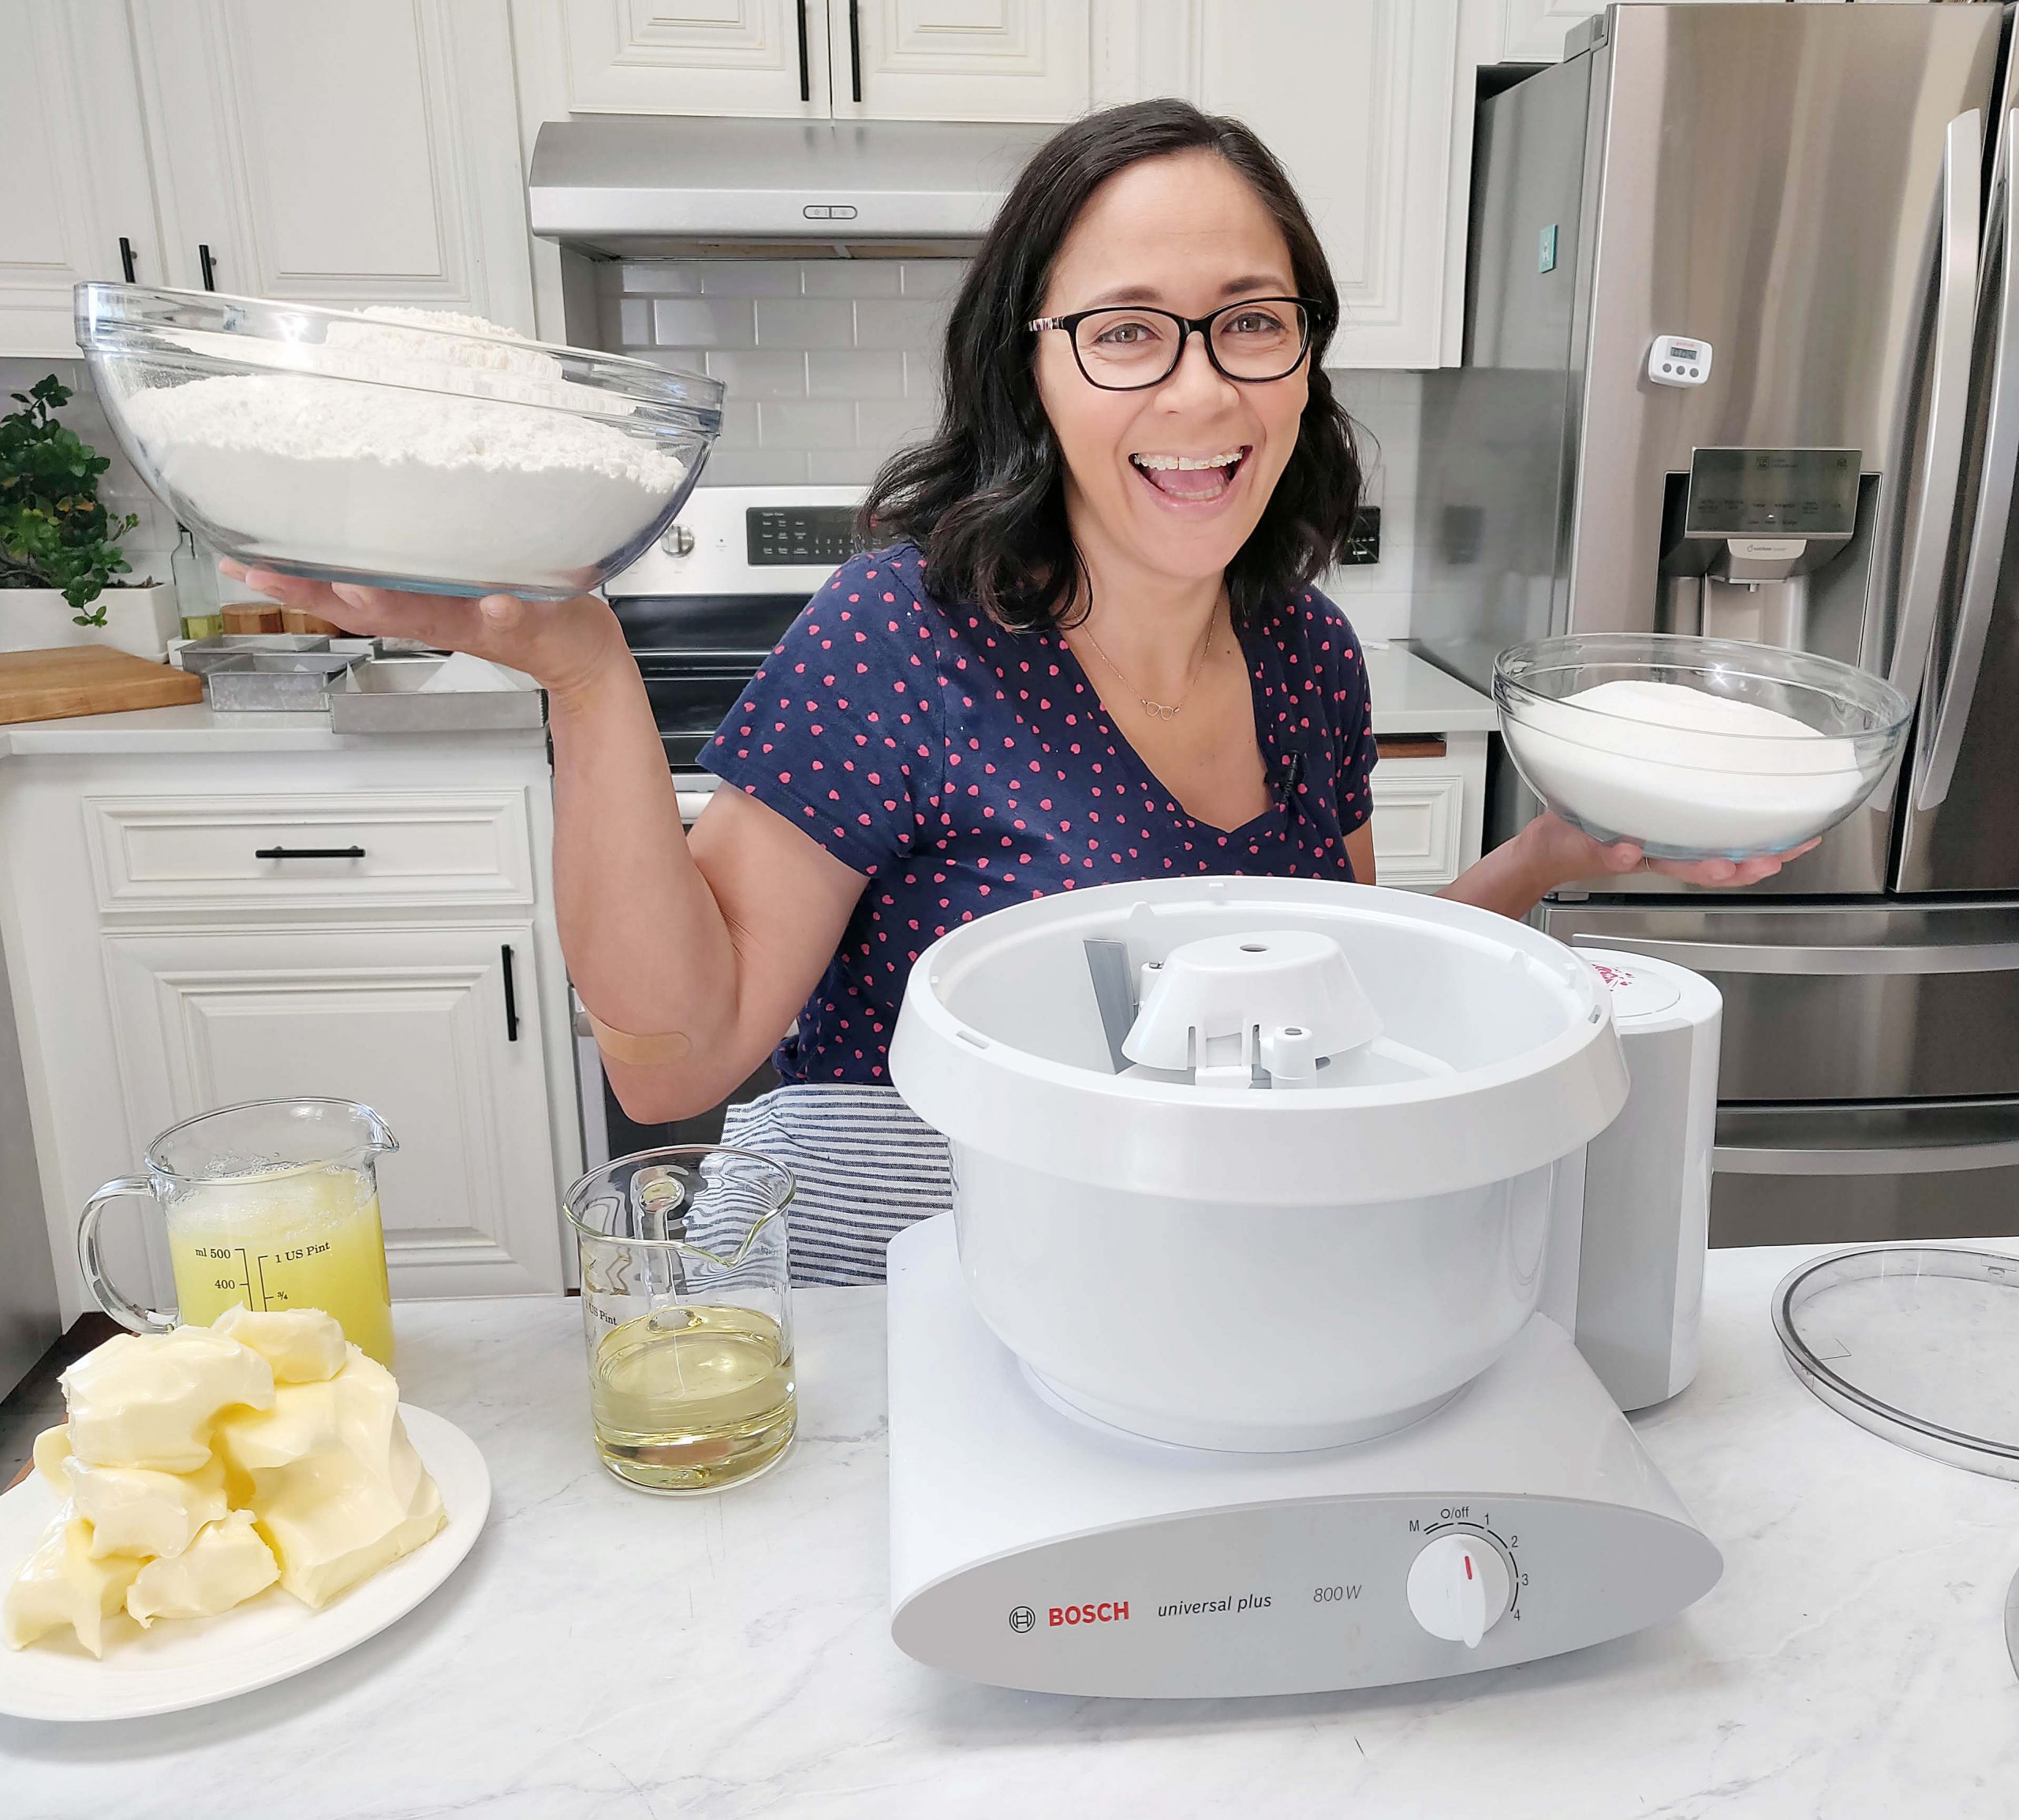
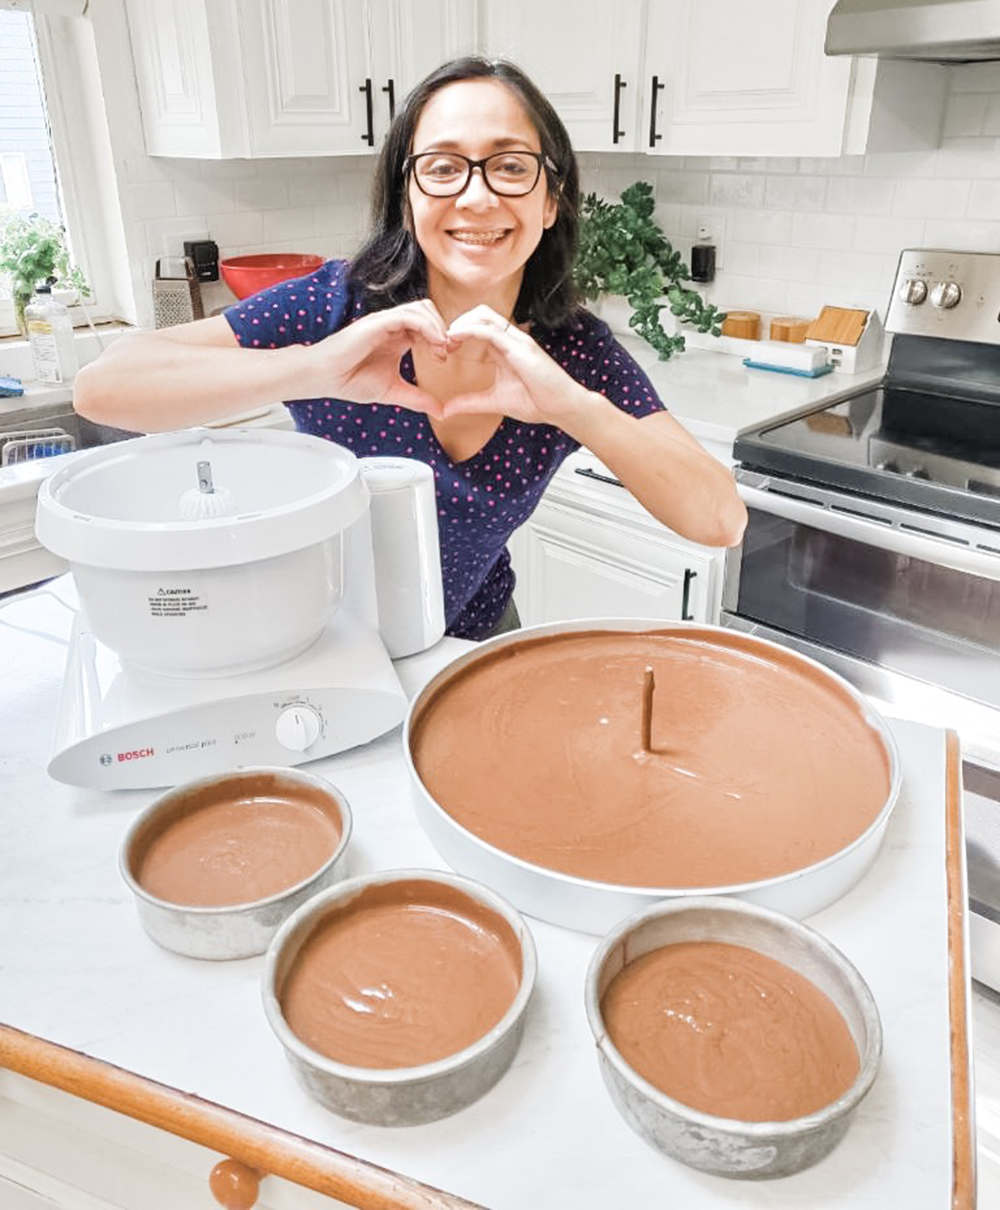
This delicious recipe comes from Lori Vaughn, owner of Lo’s Kitchen Co. She is an extremely talented baker who specializes in gourmet bakes made simple. So

Read More »
Challah Bread Dough

Small Batch Challah

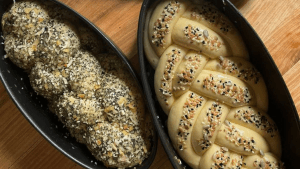
This recipe comes from Naomi E., who is a recipe developer. She’s always posting new recipes on her Instagram along with helpful tips & information.

Read More »