
Do you remember baking with your mom or grandmother? Did they give you special jobs or duties? There were certain tasks that my mother would ask my brother or me to do, some of them were fun and worth fighting over, and others, we knew, were tedious tasks that just took time and got us out of her hair for 5 or 10 minutes. One thing we could always count on was sifting the flour, and it was one of the more exciting tasks.
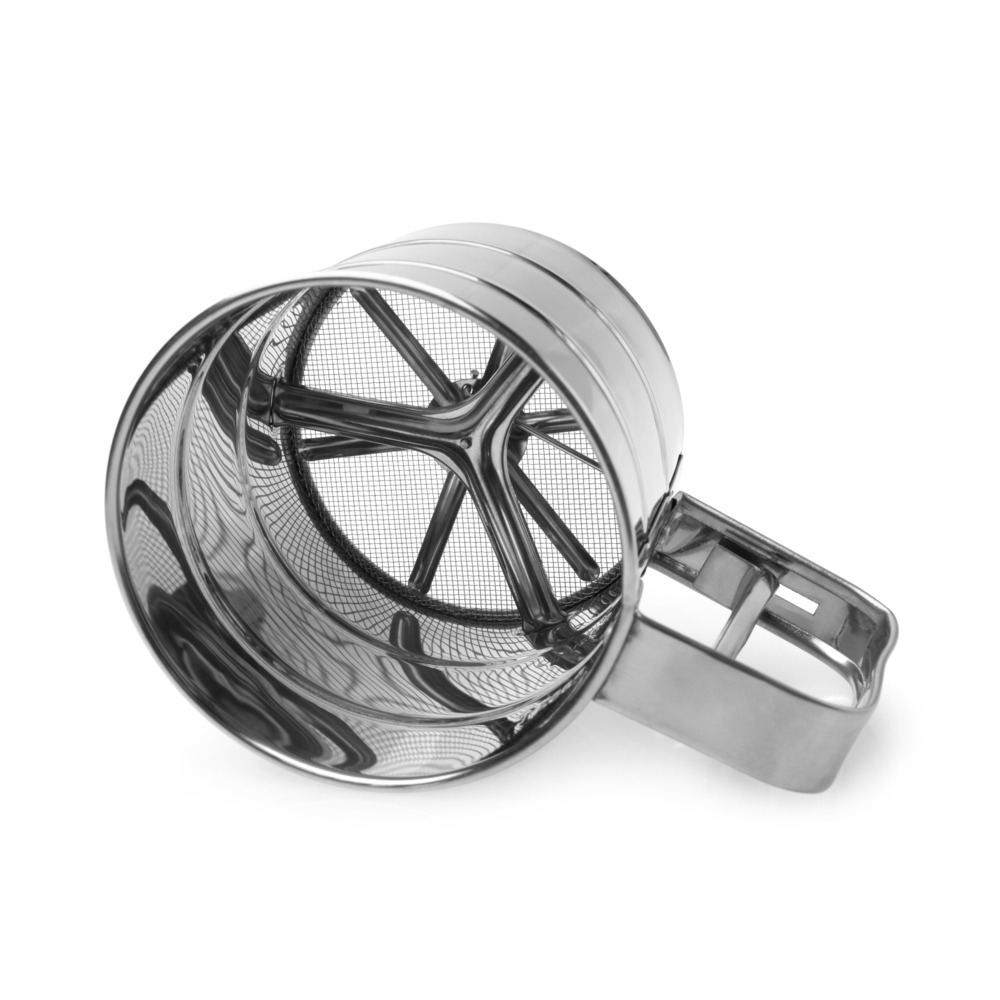
My mom had a hand sifter with a crank on the outside. The crank-powered a metal spinner on the inside of the sifter. The metal spinner would push the flour through the fine mesh down into the bowl. Mom would “challenge” us to do a good job. Moms are tricky like that. It doesn’t seem like that big of a deal, but when I was a kid there were always clumps in the flour. No matter how hard I turned the crank some of them stayed on the mesh screen bouncing around like kids in a ball pit. My brother, who was a year older, always did a better job of breaking up the clumps. Looking back on it I’ll bet he cheated and used his finger.
It’s 2020 now, and kids have more things to worry about than sifting flour. Luckily, the Bosch Mixer has its own flour sifter that doesn’t complain, or get tired hands, or even worry about what its big brother is doing!


Assembly:
1. Put the dust cap over the gear at the top of the column in the Bosch plastic bowl. The silicone material will stretch over the cross-pin. (one side at a time) and slip down to keep flour our of the gear and slots.
2. The outer ring has been nicely designed with multiple slots around the edge that fit perfectly onto the slots of the bowl. It attaches the same way as the Bosch splash ring.
3. The flour hopper fits in place on the outer ring. Rotate counter-clockwise and it will drop right into place.
4. The Fine mesh screen assembly includes the drive shaft, the screen and the brush. Lower the assembly into the flour hopper and the drive shaft will line up perfectly with the mixer below. The drive shaft fits over the gears and cross pins of the mixer and will drop right into place. When the machine is powered on the mixer gears will turn the brush of the flour sifter and “sweep” the flour through the fine mesh.
The fine mesh screen is magnetic, and you can use your hand or turn the machine on for a couple of seconds until the magnets engage in the correct position.
5. Lastly we have the top cover or lid. I suggest you put the lid on, so the flour clouds are contained inside and not let loose to wreak havoc on your kitchen.
Note: When you are done sifting, remove the entire sifter including the dust cap before beginning any mixing.
How to video
Be careful with the fine mesh screen. Unpack and gently wash your flour sifter. Completely dry all parts before using.
That is the last time that you will wash the mesh screen.
This product is not dishwasher safe. High temperatures will soften and deform the parts.
NEVER wash the mesh screen after the original cleaning. Use a soft toothbrush or other soft bristle brush to gently clean and remove the flour.
You can use the sifter to make homemade cake flour as Ashlee Marie demonstrates in the video above, or just to sift your dry ingredients together. Some people even use it to sift their powdered sugar, a friend shared that she uses her flour sifter to make homemade hot chocolate. Maybe she’ll share the recipe.
The nice thing is that you can sift right into the mixer bowl. How convenient is that? Let us know what neat tricks you use the flour sifter for!