Looking for something a little more festive for your holiday meal? Try out these beautiful easy dinner rolls. I’d like take credit for the idea but I have to admit the last time I was making dough my 7-yr old granddaughter wanted me to turn it blue. I wasn’t excited about the idea, I get freaked out thinking my teeth will turn blue, but I let her dye a little bit of dough. I was amazed after it was cooked how beautiful the bread was, so I thought I’d use it in my #boschbakingchallenge for creative rolls and Easter dinner.
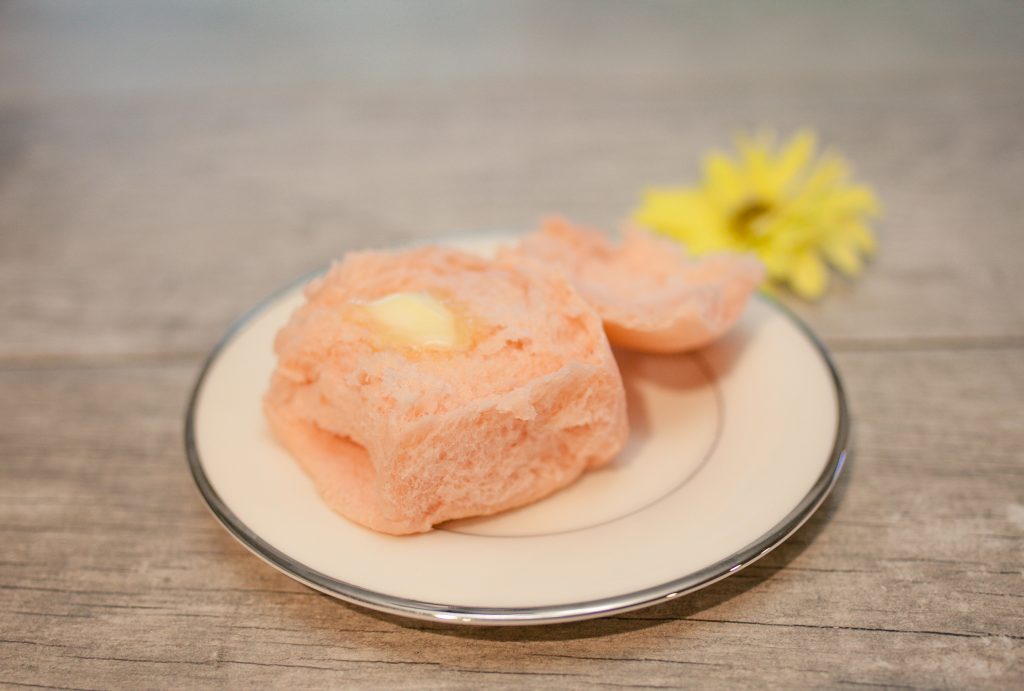
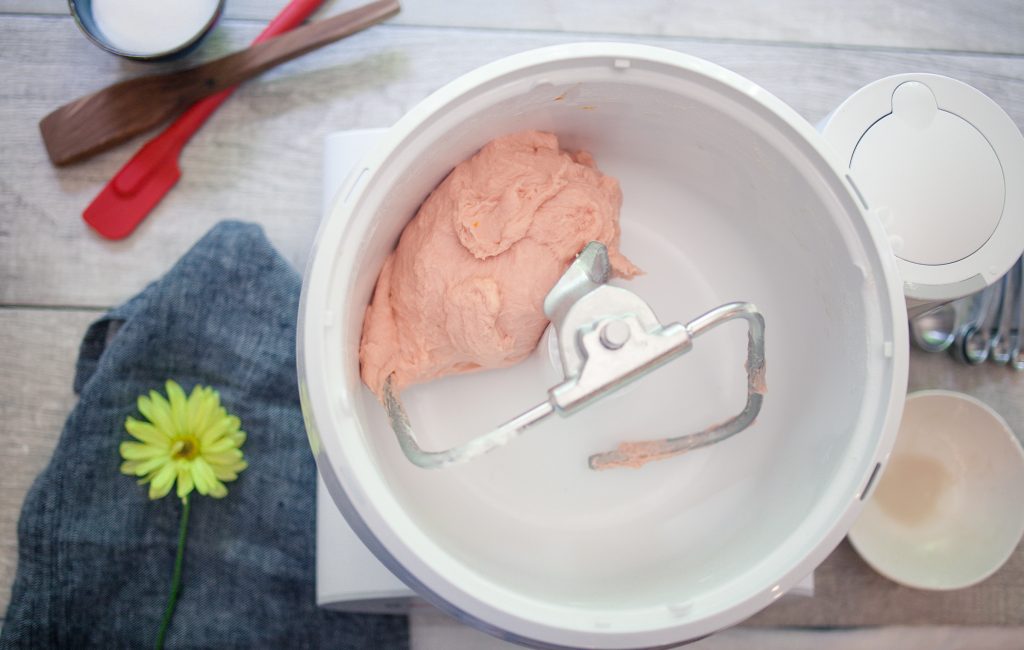
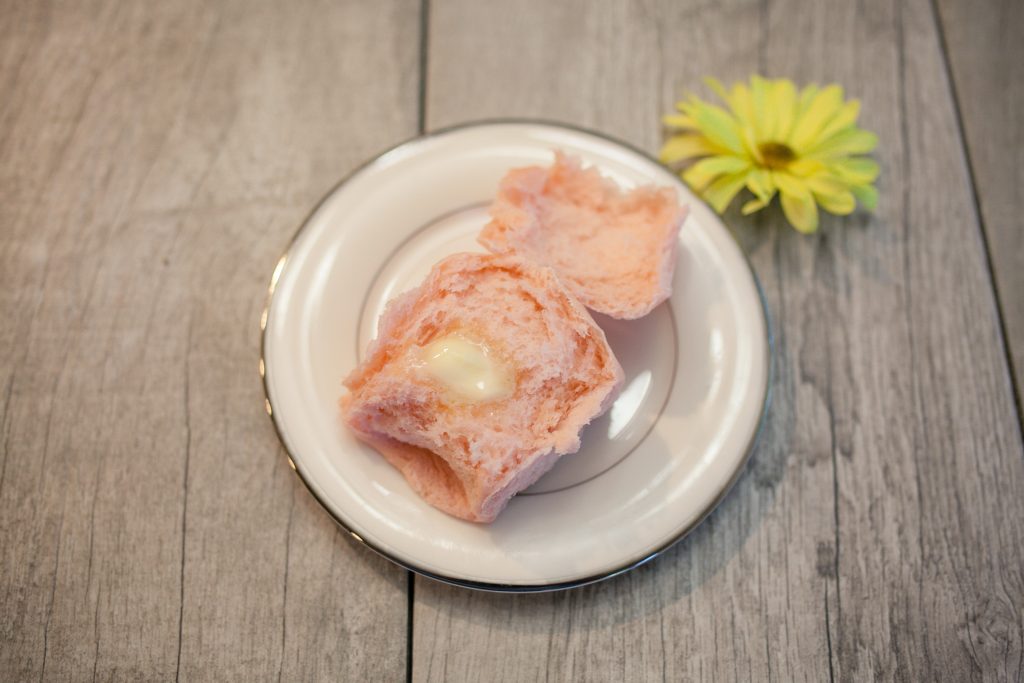
I’m sure we are not the first to think of this and I have purposefully avoided searching on Pinterest, so that I can continue to believe that we thought of it first. For Easter we made turquoise, pink, and pastel green rolls, but they were gone before I could snap a pic. So a few days later I made them again to go with the leftover ham & bean soup, another Easter tradition. Again they disappeared but I did manage to take some pics. For this batch we added 4-5 drops of red food coloring and 1 drop of yellow. Such a pretty dough!
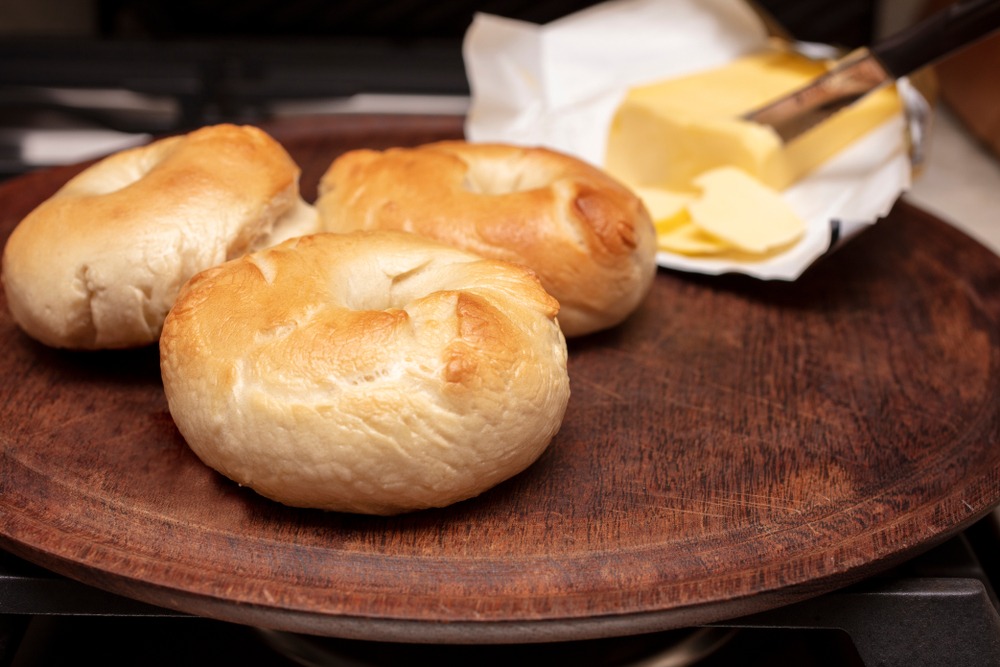
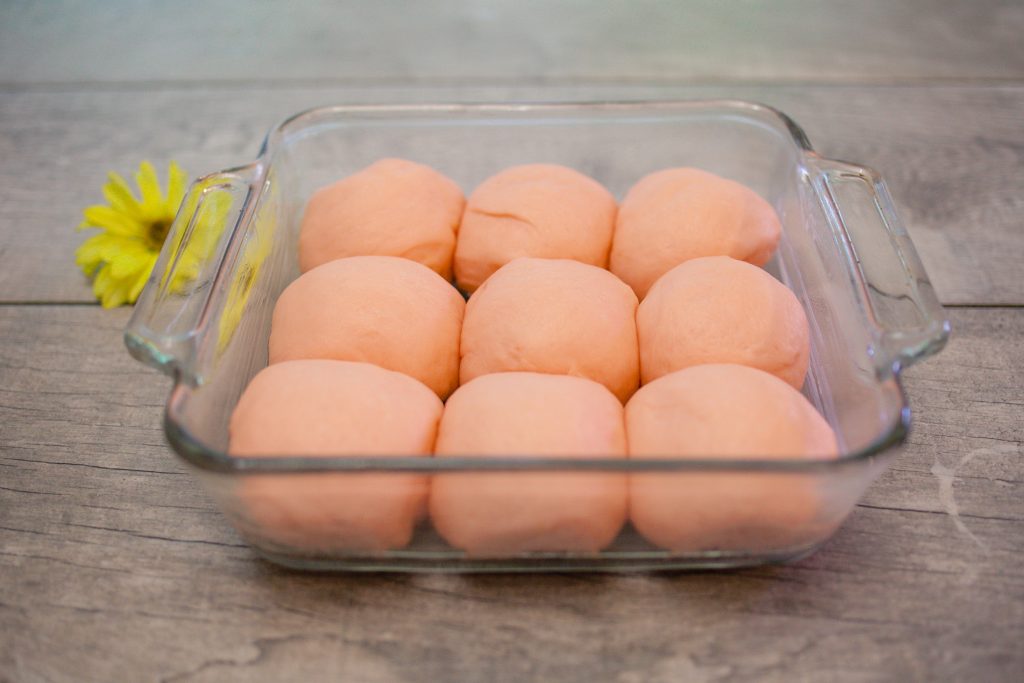
This recipe is from a neighbor that I knew years ago. Her name was Barbara, I think, and we lived in San Diego California at the time. Maybe someone will recognize the recipe and we can give the full credit where it’s due. It is a super simple recipe and delicious. The original recipe calls for it to be shaped into a knot and placed on a cookie sheet with space between the rolls. I’ve found you can make regular rolls in a pan, you may have to cook them for a little bit longer. To protect from browning too much you can tent them when they start to brown.
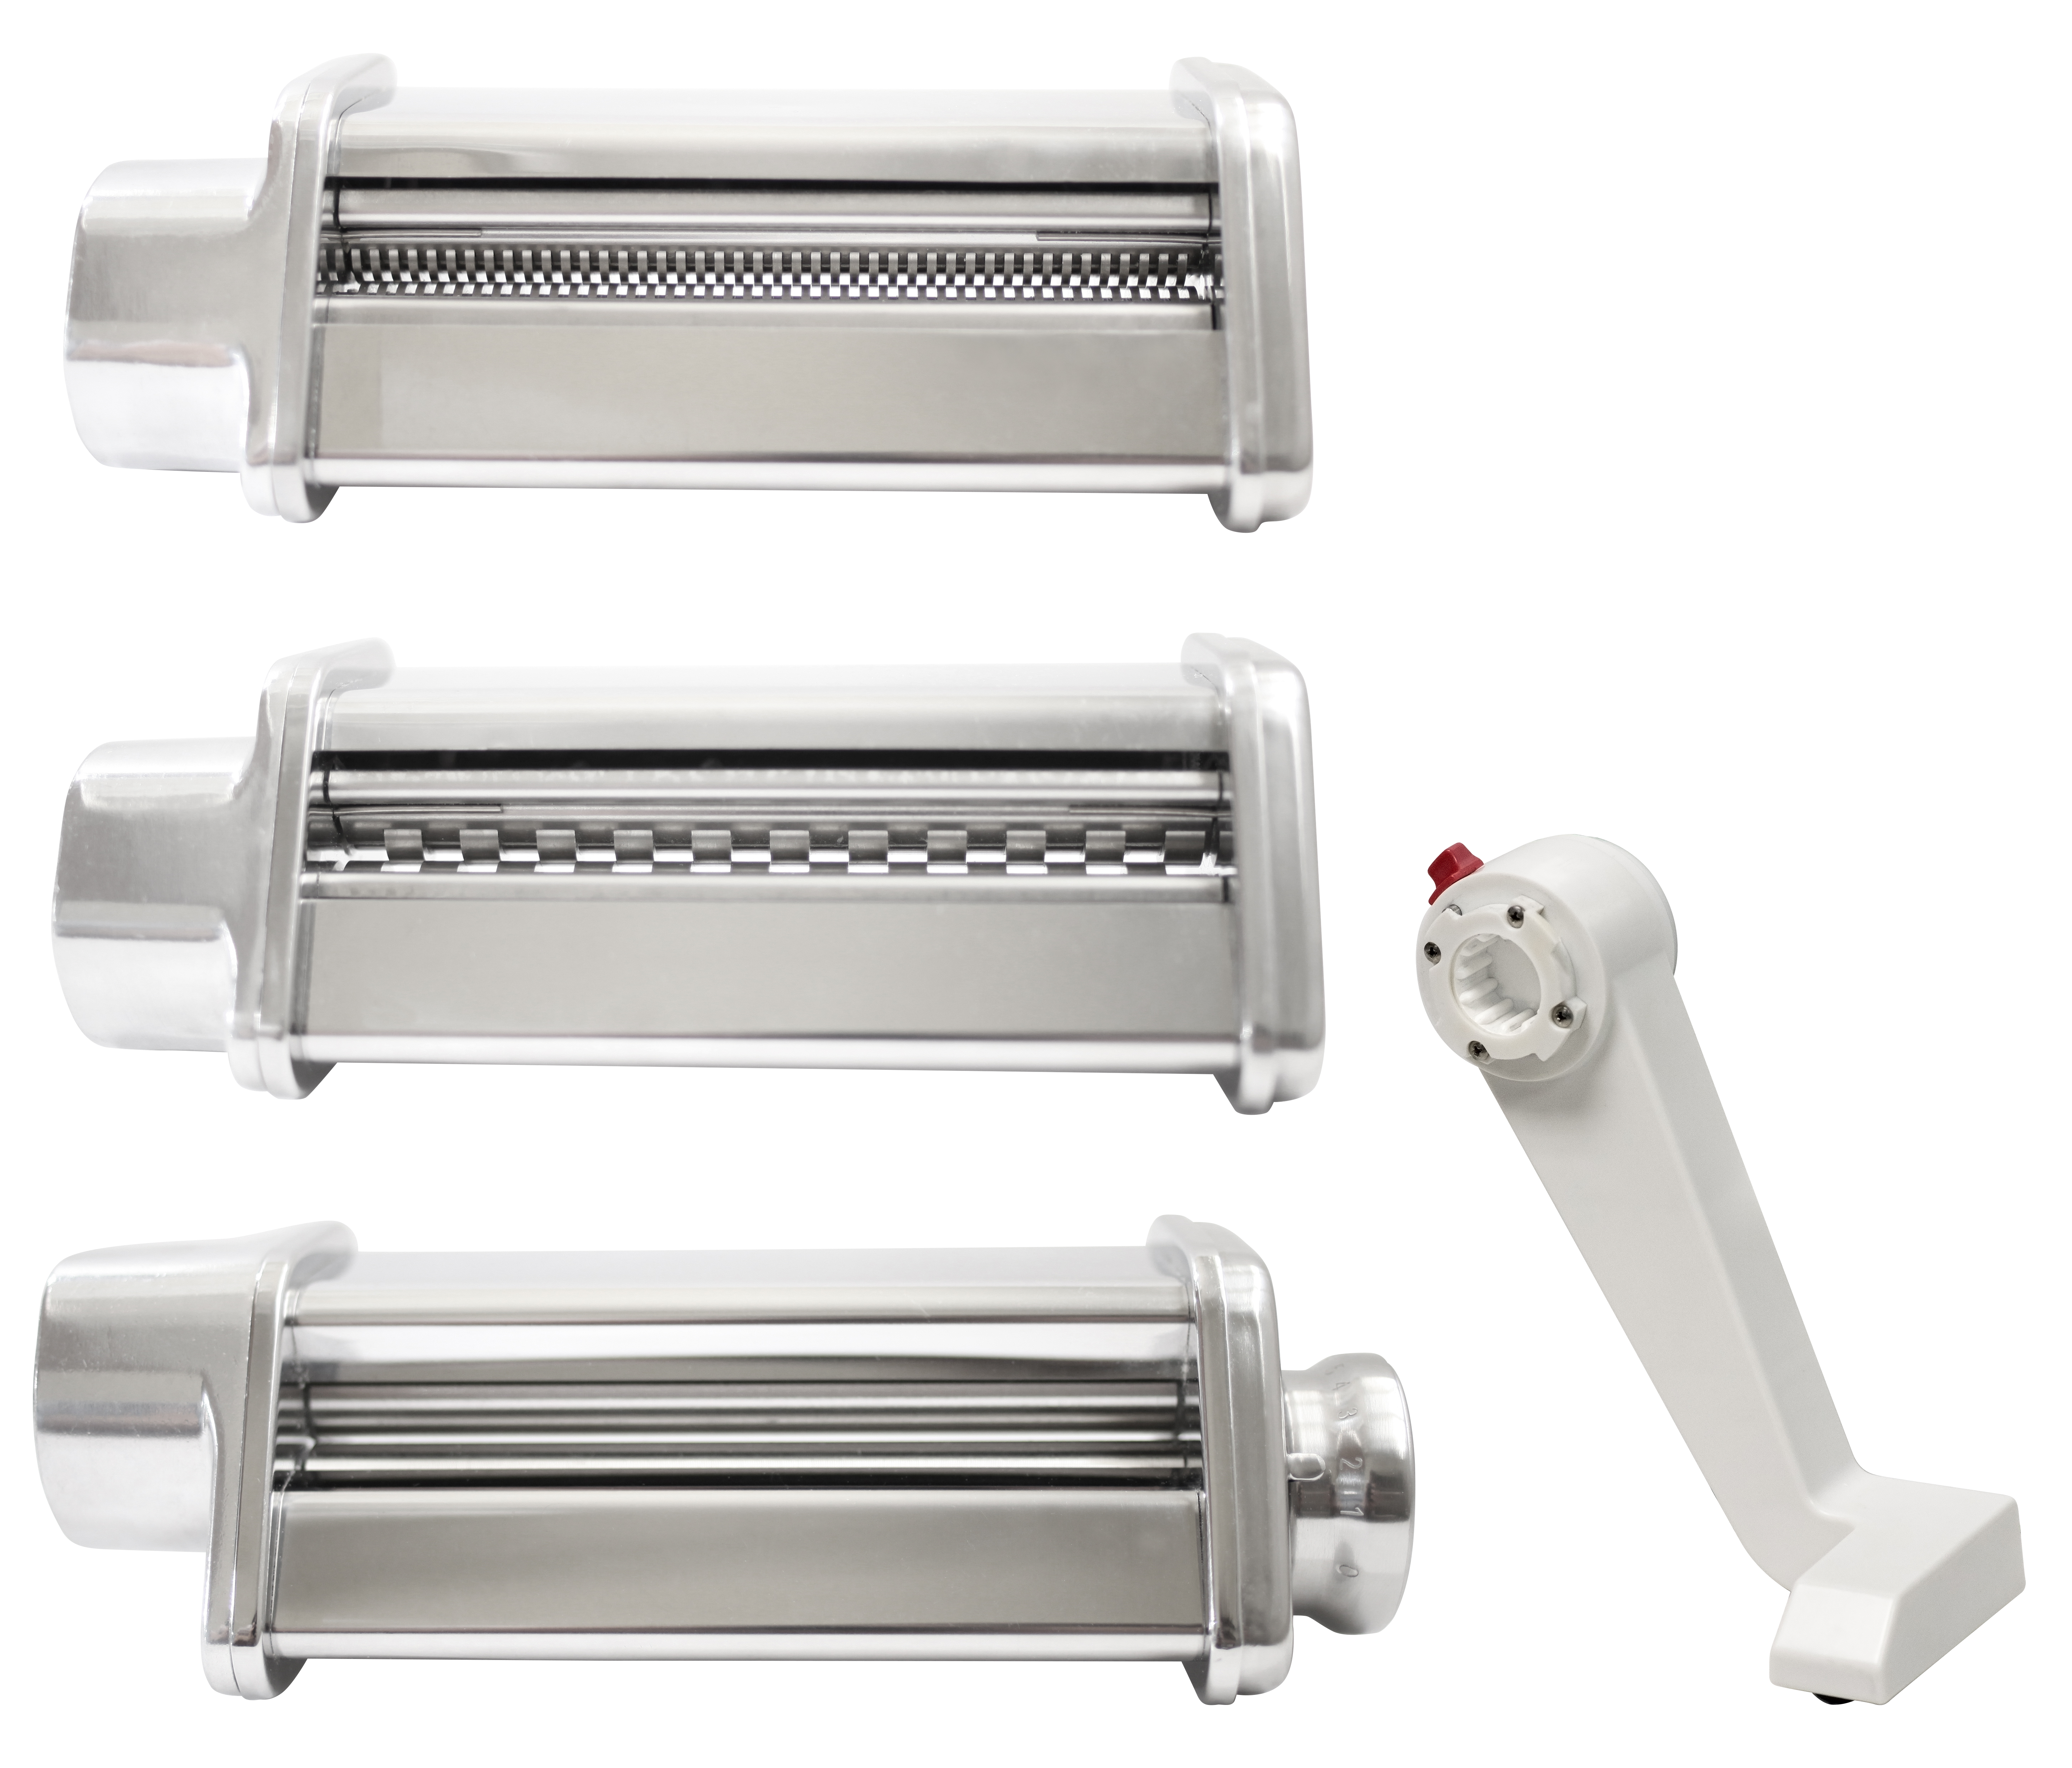
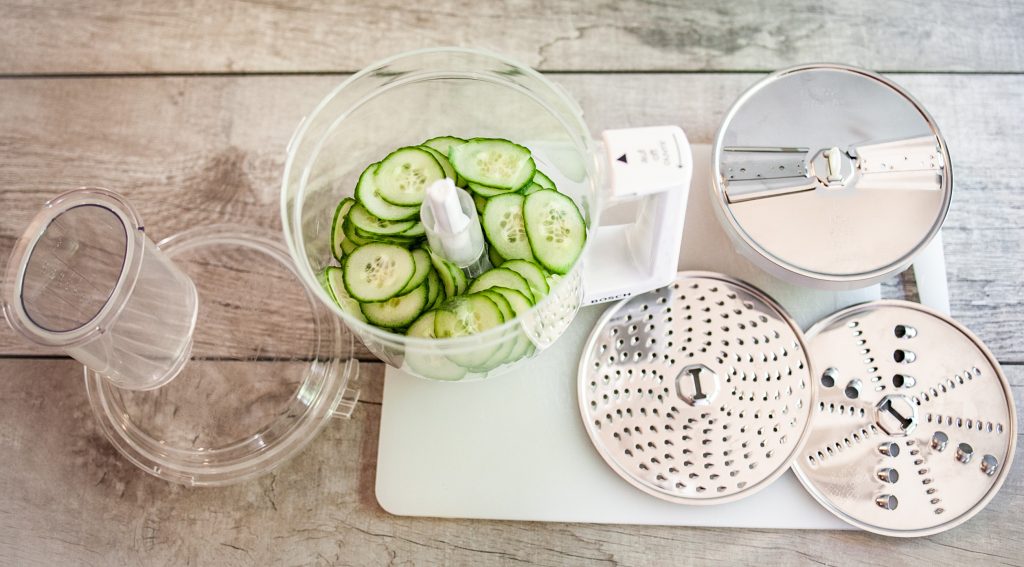
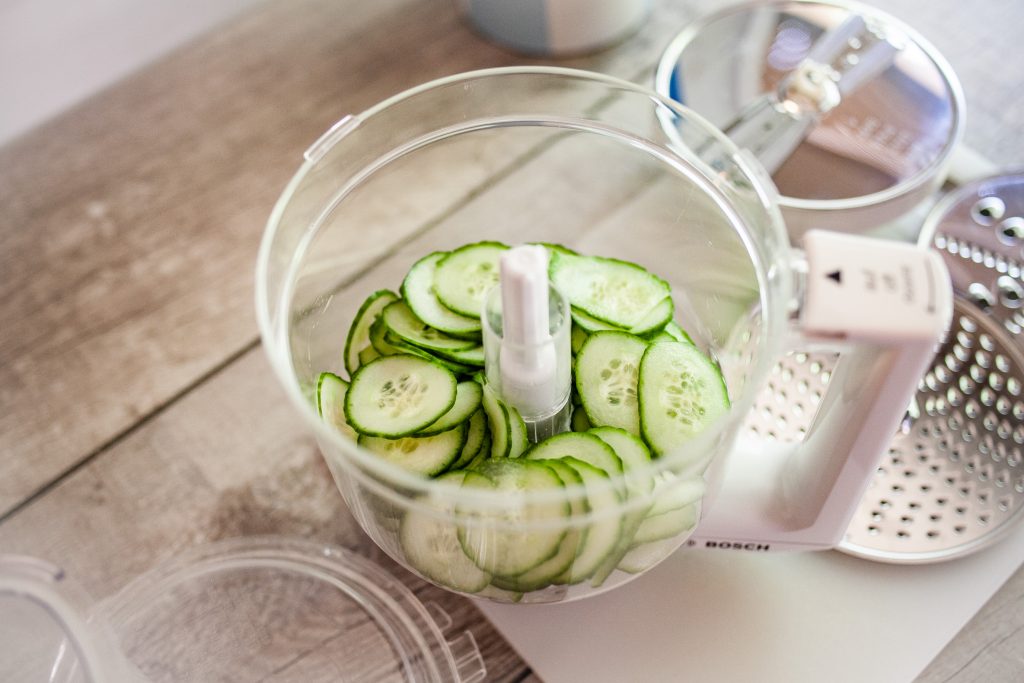
The Universal Food Processor for Bosch Mixers could easily be your first choice of attachments. Convenient and easy-to-use, it is the perfect size for a quick slice or shredding. Whether you whip up some pesto, slice some vegetables, or zest an orange, the Universal Food Processor is quick, powerful, and gets the job done.
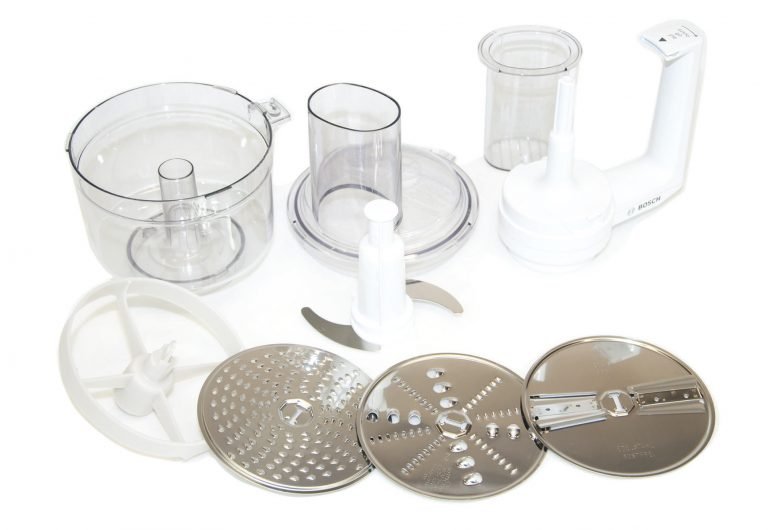
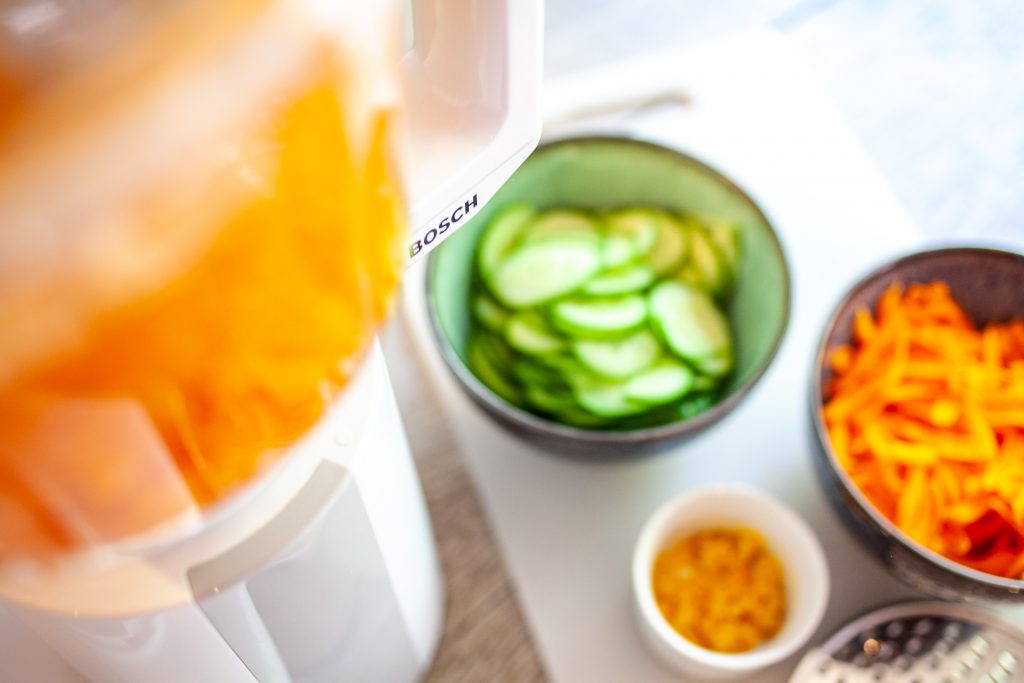
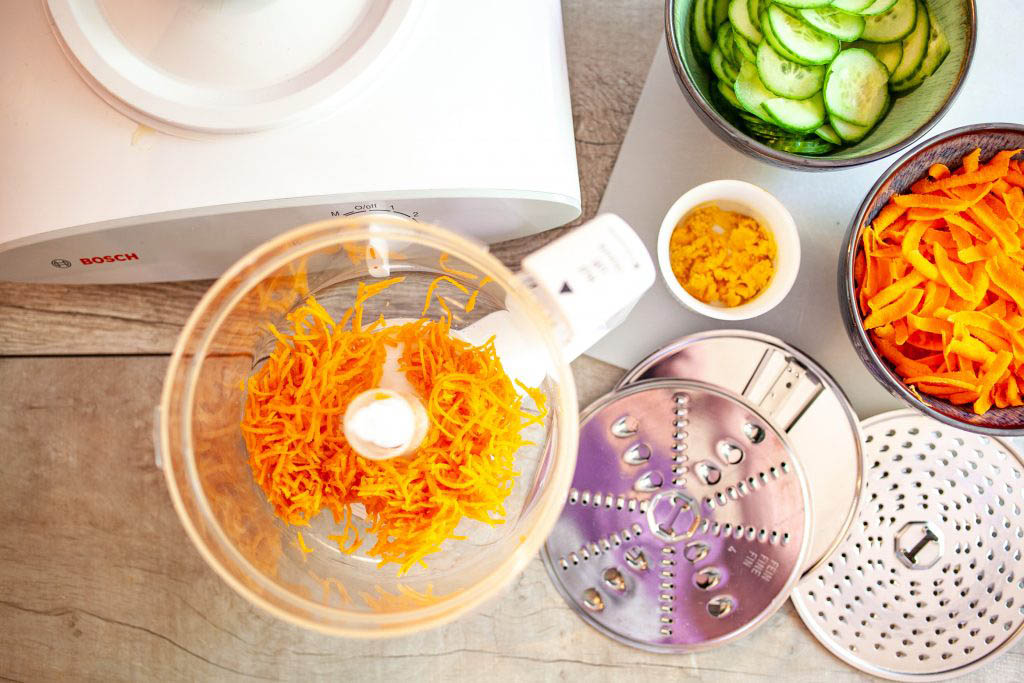
The food processor comes with three discs: a reversible slicing shredding disc, a reversible shredding disk, and a rasping disk. It also includes the very handy s-blade and a five cup bowl.
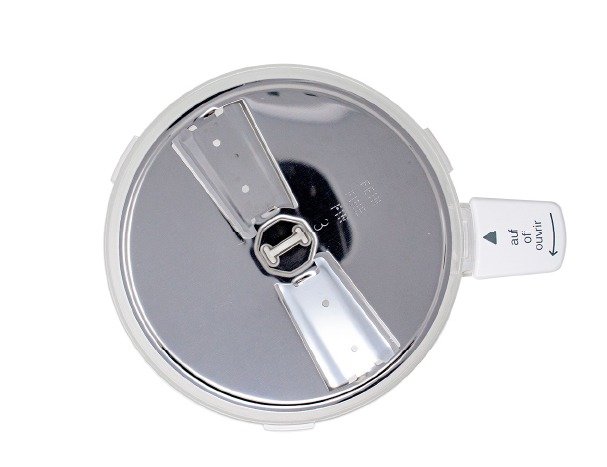
The slicing disc is reversible, slicing thick or thin.
You can place a slice of lemon or orange in the chute, press briefly and have perfect orange zest. No more shredded knuckles! The zest doesn’t fall into the bowl but clings to the underside of the disc holder. Use a small spatula to gather your zest.
The shredding disc is also reversible, with a large shred and a small shred.
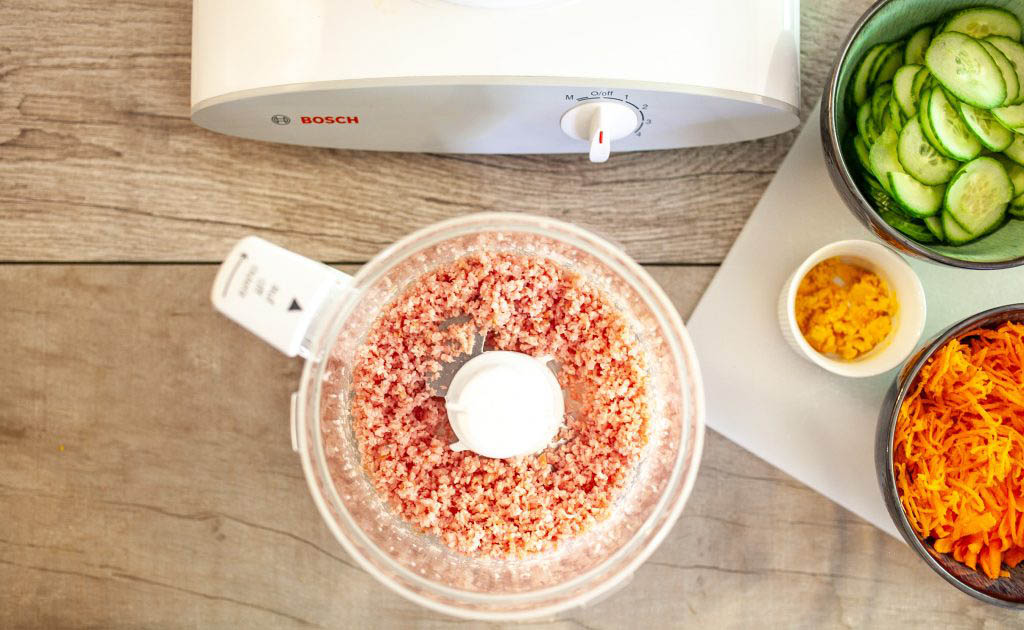
The s-blade is sharp enough to quickly and cleanly chop nuts or mix pesto.
Safety Features
The Universal Food Processor has been designed with multiple safety features made to protect your fingers from sharp blades. The processor must be completely assembled with the lid locked in place before it can be mounted on the high-speed tower of the Bosch Universal Plus mixer. To assemble the food processor, follow the steps below:
Assembling the food processor
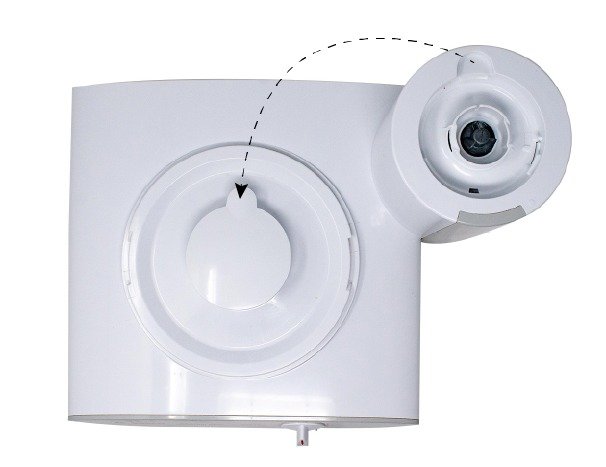
1. Remove the safety cap and place on the mixer drive shaft for safe keeping.
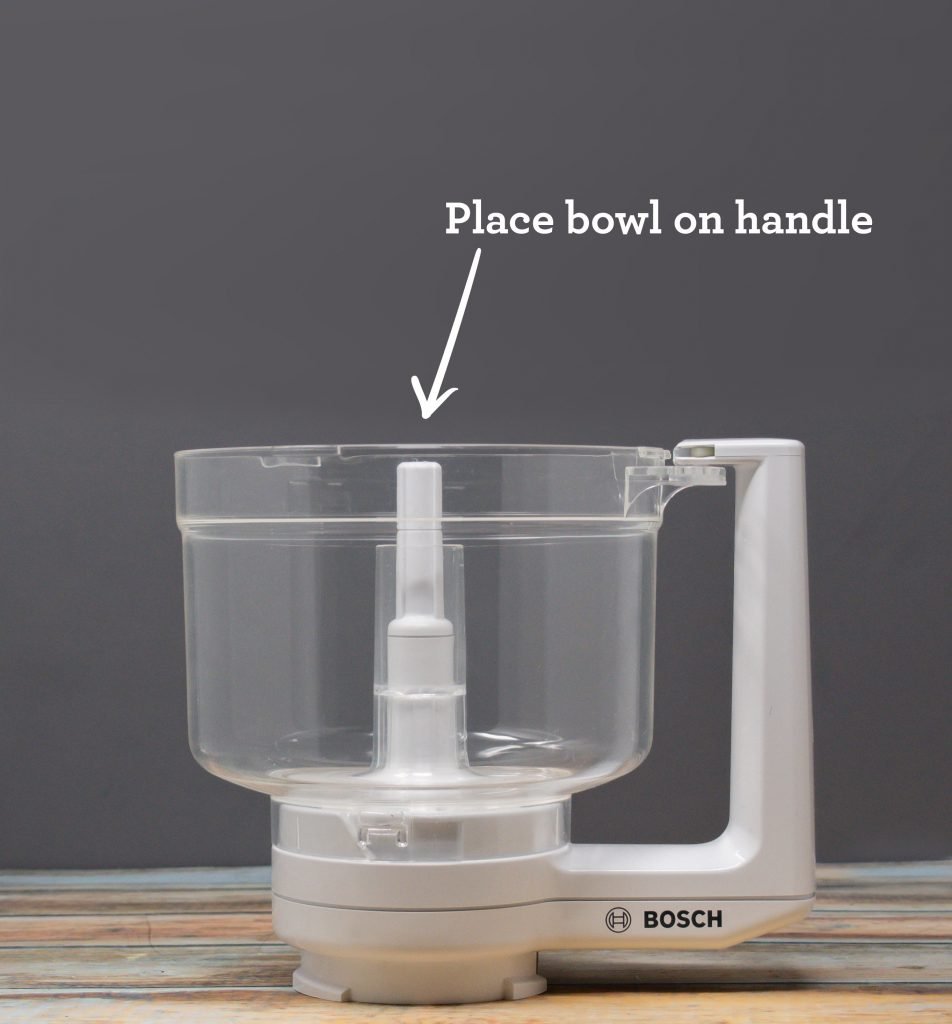
2. Take the bowl of the food processor and place on the handle piece. Notice the notch needs to be placed on the left side of the handle.
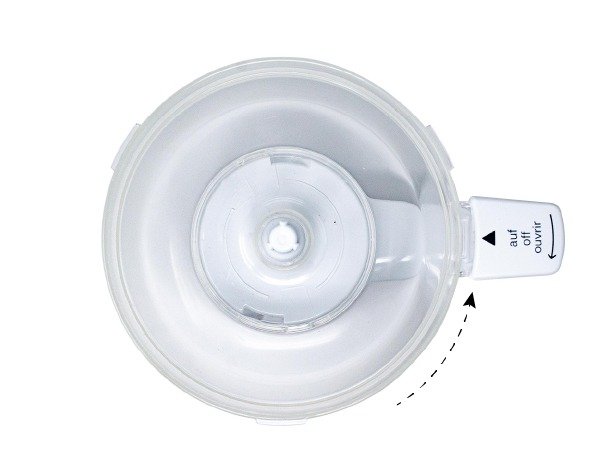
3. Lock the bowl onto the handle by sliding the notch into the handle counter-clockwise.
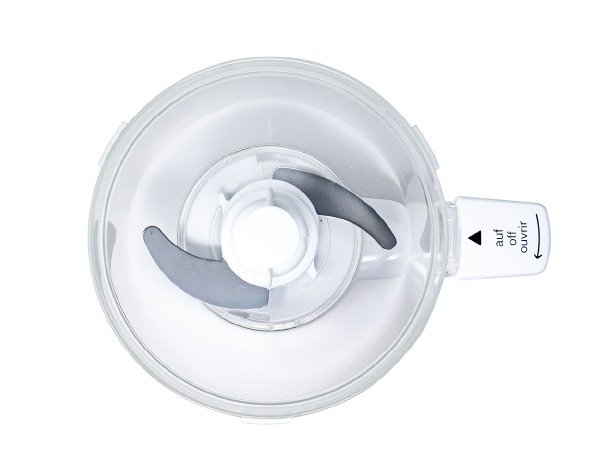
4. Put the blade into the food processor.
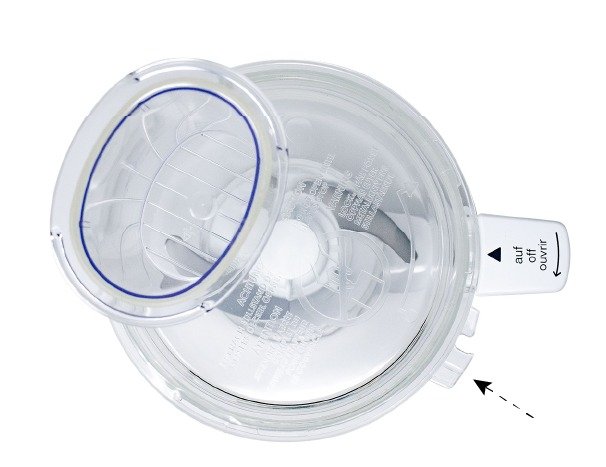
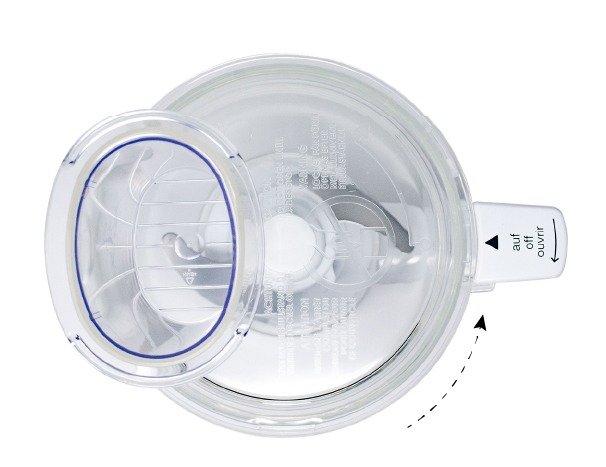
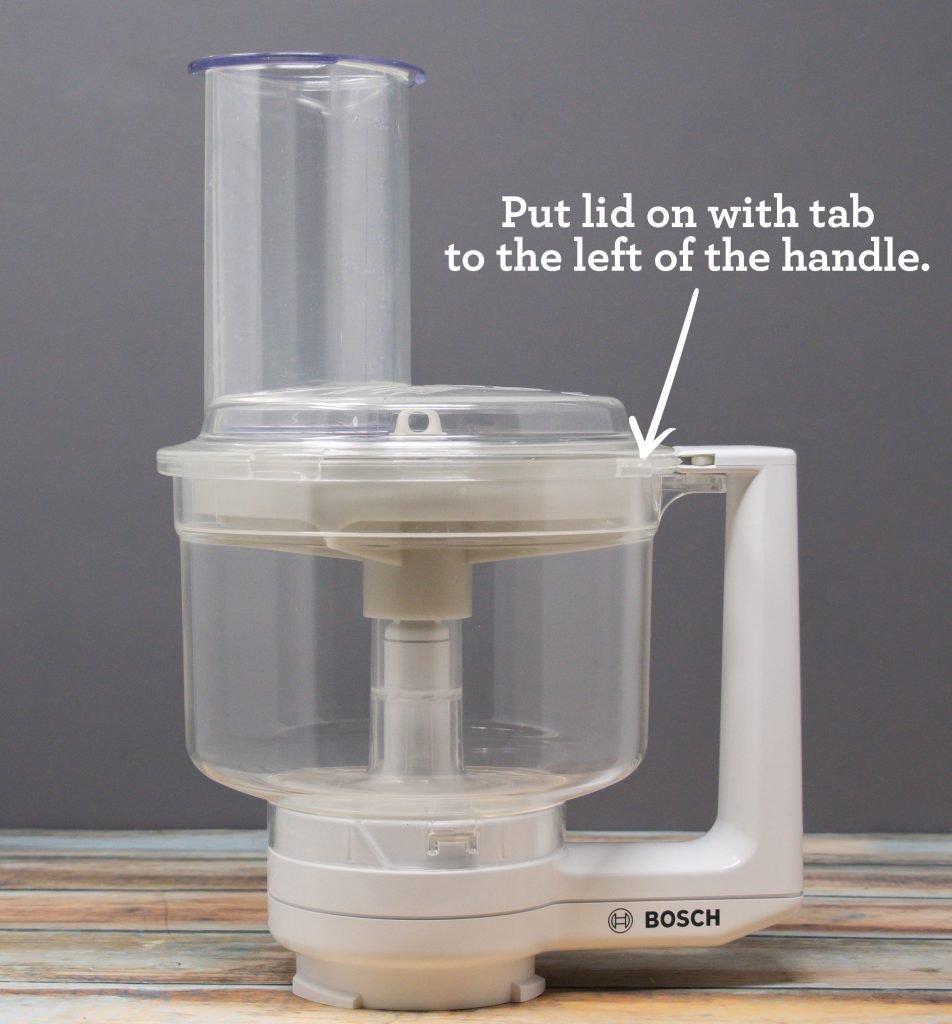
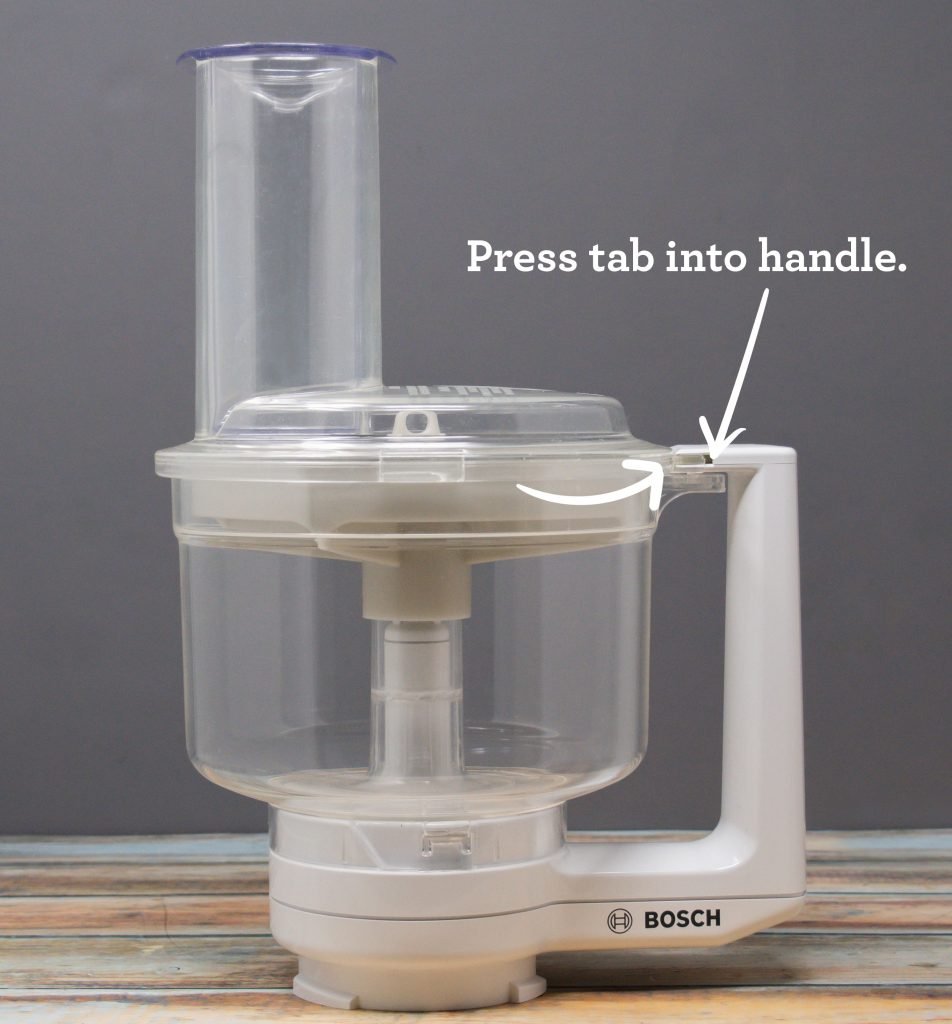
5. Place the lid on the food processor with the lid notch to the left of the handle.
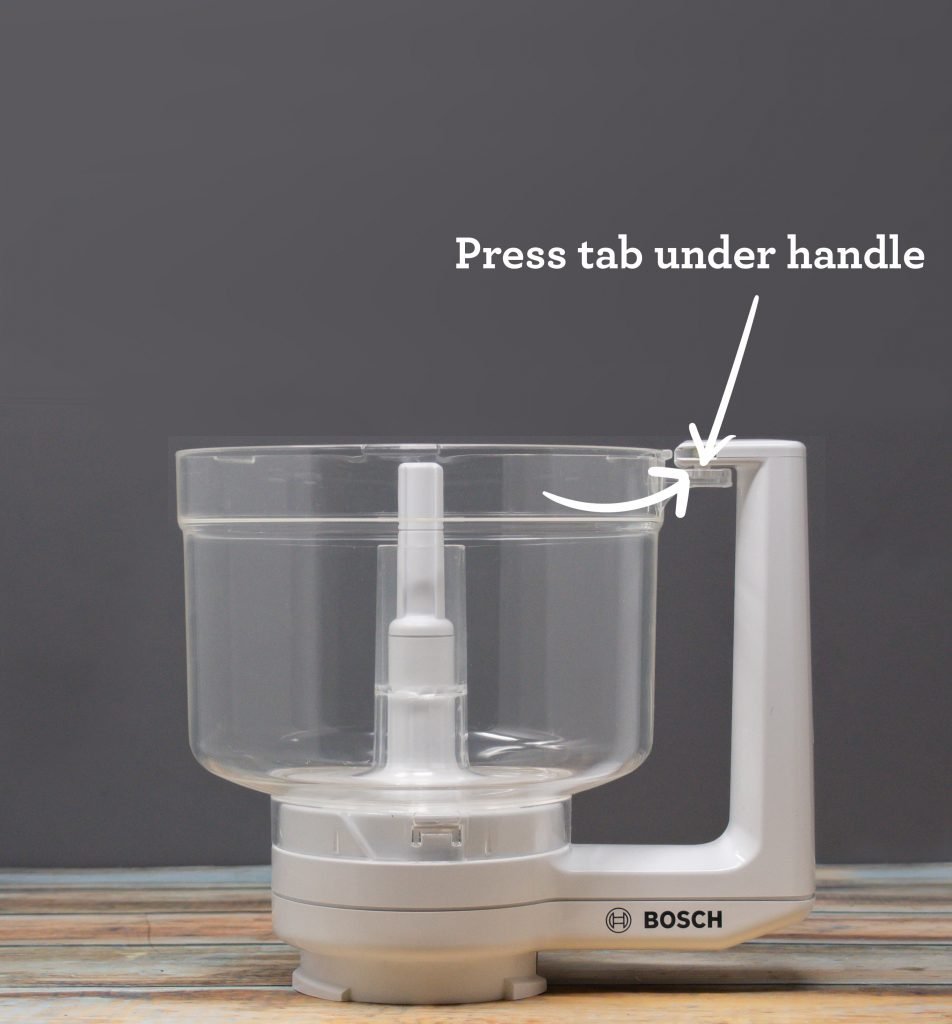
6. Lock the lid in place by pressing the notch counter-clockwise into the handle. Once the lid is locked in place, the safety feature will allow you to place the processor onto the mixer.
Using the discs
Follow steps 1-3 above
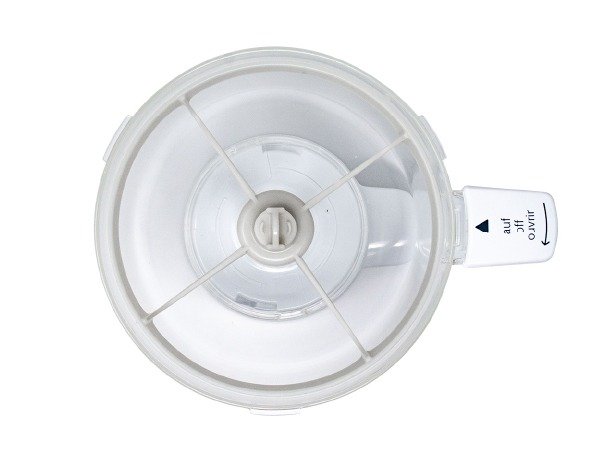
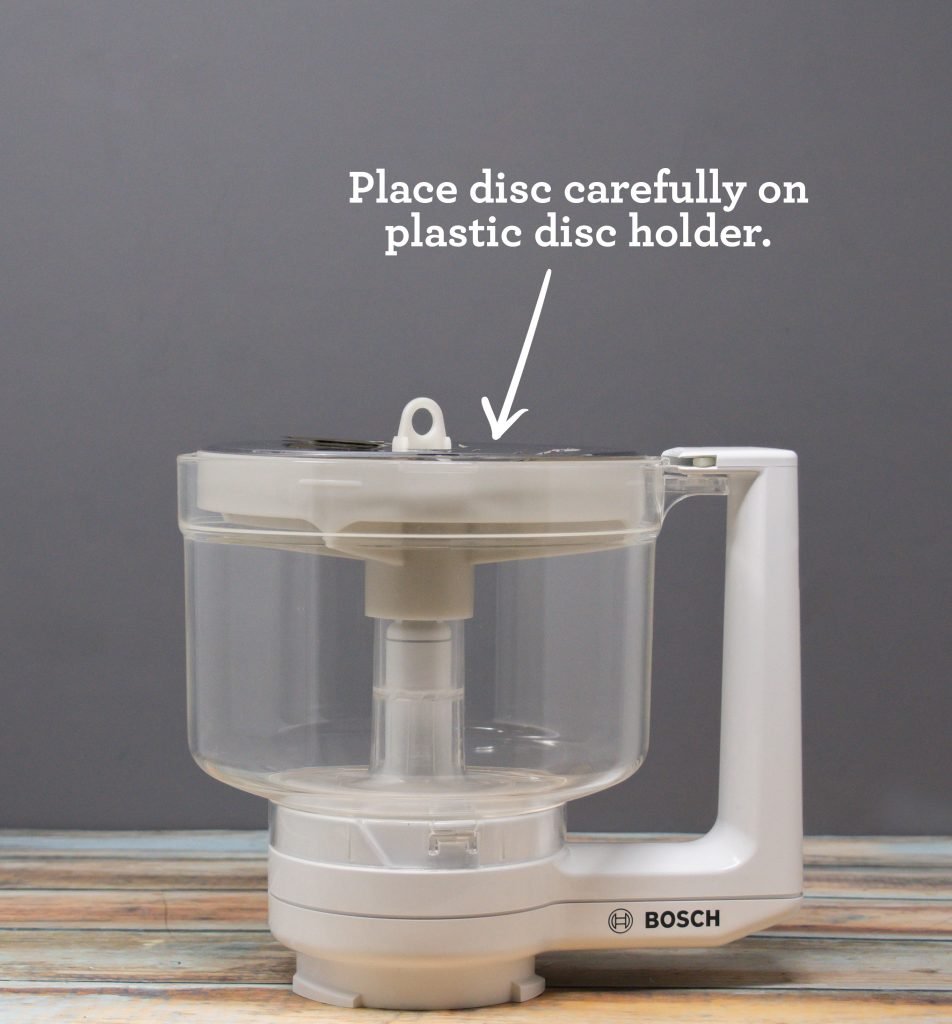
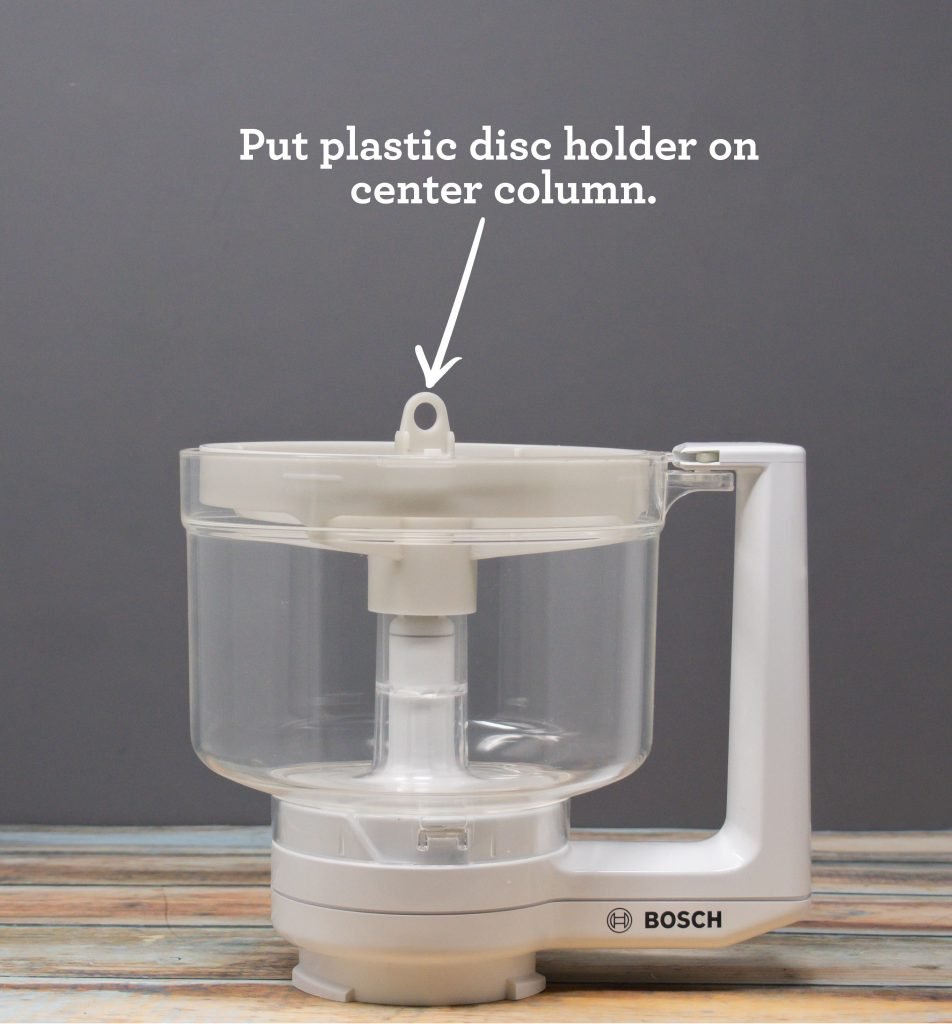
4. Place disc holder on food
processor.
5. Place desired blade on disc
holder.
Follow steps 5-6 above to attach lid.
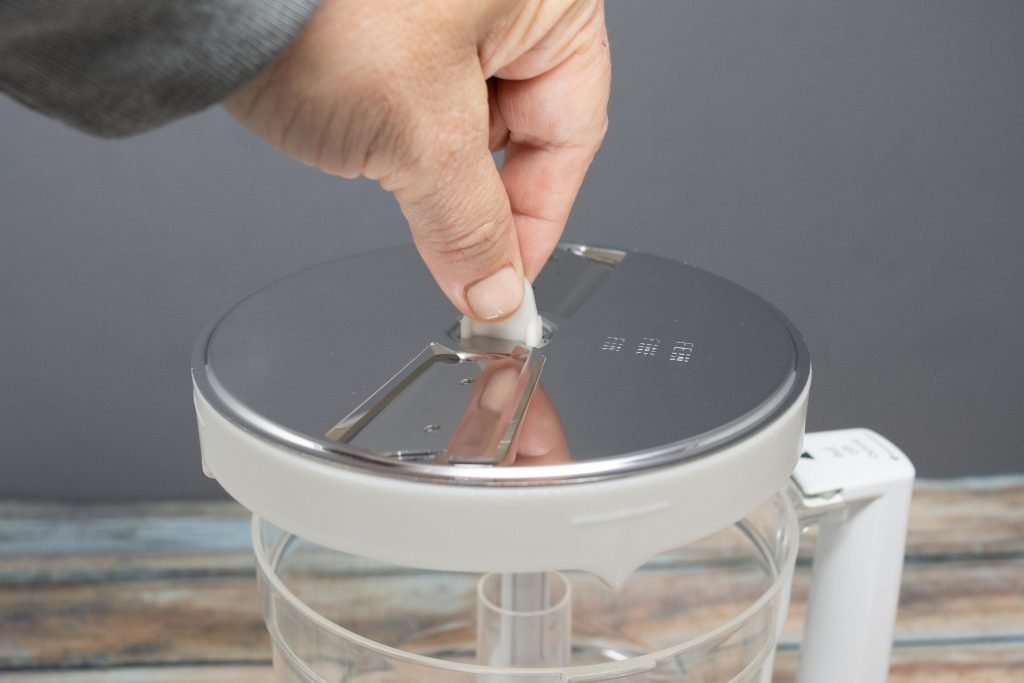
Tip: use the tab on the disk holder to lift the blades off.
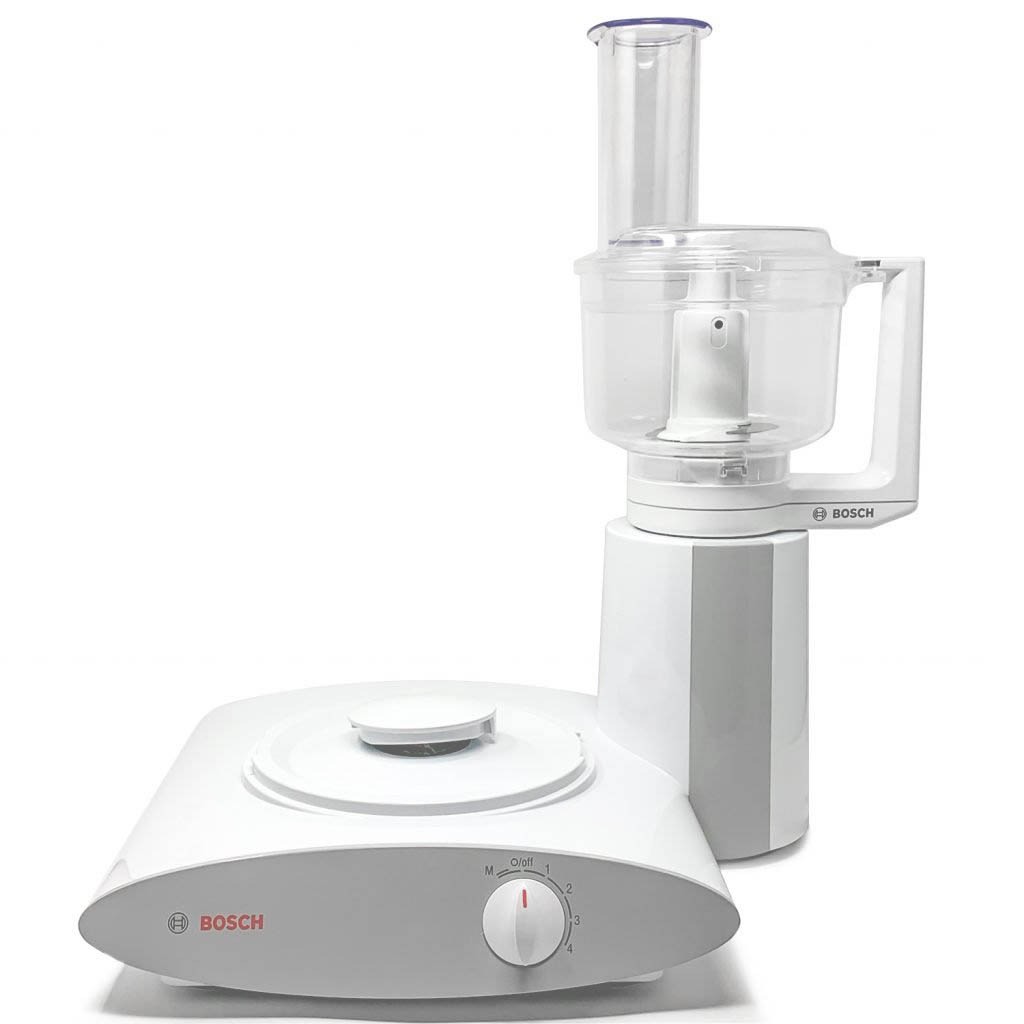
Side view
Recipe's
As you can see the Universal Food Processor is an incredible kitchen tool. Why have a completely separate kitchen appliance when you can use the high speed drive on the Bosch Universal Plus? Give it a try and let us know what you think of it!
We use cookies on our website to give you the most relevant experience by remembering your preferences and repeat visits. By clicking “Accept”, you consent to the use of ALL the cookies.
This website uses cookies to improve your experience while you navigate through the website. Out of these, the cookies that are categorized as necessary are stored on your browser as they are essential for the working of basic functionalities of the website. We also use third-party cookies that help us analyze and understand how you use this website. These cookies will be stored in your browser only with your consent. You also have the option to opt-out of these cookies. But opting out of some of these cookies may affect your browsing experience.
Necessary cookies are absolutely essential for the website to function properly. These cookies ensure basic functionalities and security features of the website, anonymously.
Cookie
Duration
Description
cookielawinfo-checbox-analytics
11 months
This cookie is set by GDPR Cookie Consent plugin. The cookie is used to store the user consent for the cookies in the category "Analytics".
cookielawinfo-checbox-functional
11 months
The cookie is set by GDPR cookie consent to record the user consent for the cookies in the category "Functional".
cookielawinfo-checbox-others
11 months
This cookie is set by GDPR Cookie Consent plugin. The cookie is used to store the user consent for the cookies in the category "Other.
cookielawinfo-checkbox-necessary
11 months
This cookie is set by GDPR Cookie Consent plugin. The cookies is used to store the user consent for the cookies in the category "Necessary".
cookielawinfo-checkbox-performance
11 months
This cookie is set by GDPR Cookie Consent plugin. The cookie is used to store the user consent for the cookies in the category "Performance".
viewed_cookie_policy
11 months
The cookie is set by the GDPR Cookie Consent plugin and is used to store whether or not user has consented to the use of cookies. It does not store any personal data.
Functional cookies help to perform certain functionalities like sharing the content of the website on social media platforms, collect feedbacks, and other third-party features.
Performance cookies are used to understand and analyze the key performance indexes of the website which helps in delivering a better user experience for the visitors.
Analytical cookies are used to understand how visitors interact with the website. These cookies help provide information on metrics the number of visitors, bounce rate, traffic source, etc.
Advertisement cookies are used to provide visitors with relevant ads and marketing campaigns. These cookies track visitors across websites and collect information to provide customized ads.